
E-mail: Adding sender addresses
The Email Addresses page is where you configure which addresses your store uses when sending email. There are three required system addresses, plus optional sender addresses for internal use and recipient addresses for Z-reports.
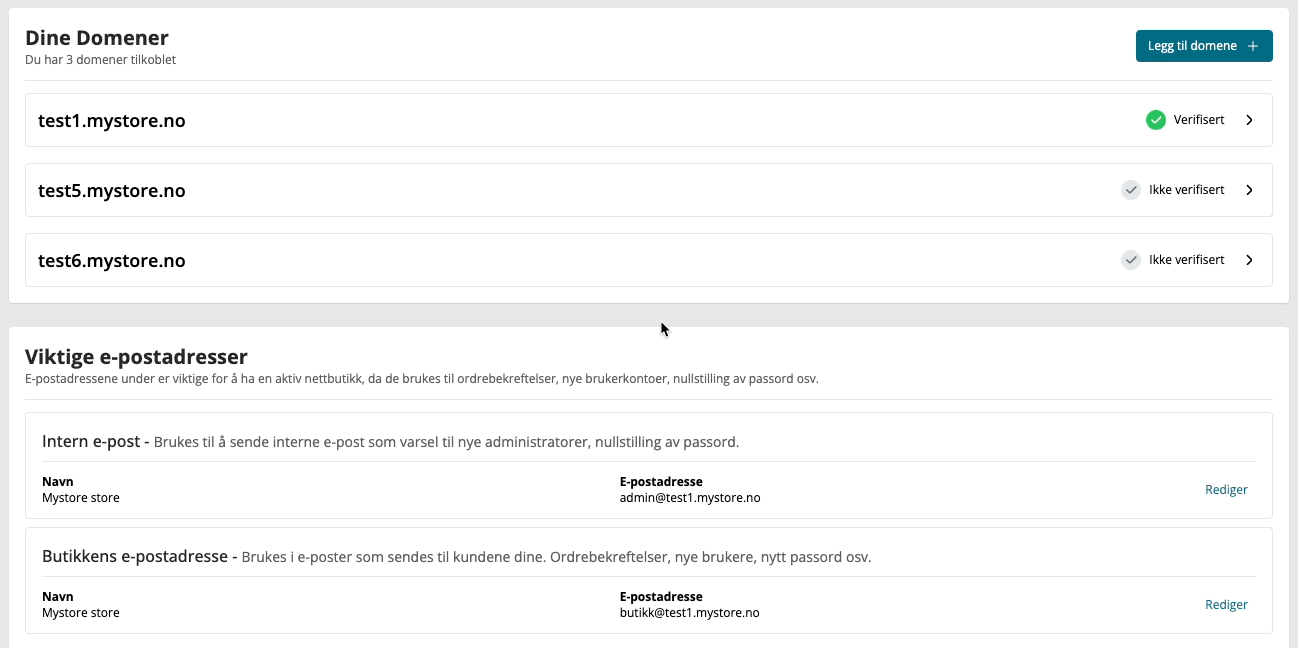
You need at least one verified sending domain before you can add any address. If no verified domain exists, a warning appears at the top of the page.
Getting there
Go to Email → Addresses in the sidebar.
Required email addresses
These three addresses are used for all automatic emails your store sends. Each row shows the address type, what it's used for, and the current address (or an empty state if not yet configured).
Admin email
Used for internal notifications: new administrator alerts, password resets for admin accounts, and similar system messages. Customers don't see this address.
Store email
The main outbound address customers see. Used for order confirmations, new account emails, and password reset emails sent to customers.
Contact from
The sender address for the contact form. If left empty, the store email is used automatically. The customer's own email address goes into the Reply-To field, so replies go back to them.
To add or change any of these addresses, click the edit icon on the row and select from your verified domains.
Order confirmation recipients
Below the system addresses, you can add extra email addresses that receive a copy of every order confirmation. This is useful if a warehouse, accountant, or second inbox also needs to see incoming orders.
Enter addresses in this format:
Company name <address@domain.com>,Second person <other@domain.com>
Click Save to apply.
Sender addresses
Sender addresses are custom addresses you can use as the "from" field when sending procurement orders, quotes, and similar internal documents from the control panel. They're not used for automatic store emails.
To add a sender address:
- Click Add Sender.
- Enter a display name (e.g. the company name).
- Enter the local part of the address — the part before the
@. - Select a verified domain from the dropdown.
- Click Submit.
The local part can only contain letters, numbers, and the characters +, ., -, _. Only verified domains appear in the dropdown.
To edit or remove an address, use the icons on the right of each row.
Z-report email addresses
These addresses receive an email with the Z-report each time one is generated. Add them the same way as sender addresses, but use Add Recipient instead. You can enter any valid email address here — it doesn't have to be on one of your verified domains.
Tips
- You must add and verify a domain before you can configure any of the three system addresses. Do that first under Email → Sending domains.
- If you remove a domain, all addresses on that domain are deleted from the control panel automatically.
- The contact form sender address is optional — leave it empty to fall back to the store email.